How to Make Bakery-Style Black and White Cookies
If you’ve been around Healthy Delicious for a while, you know I love sharing classic recipes from around New York State, from Binghampton’s Chicken Spiedies to Utica’s Chicken Riggies and everything in between.
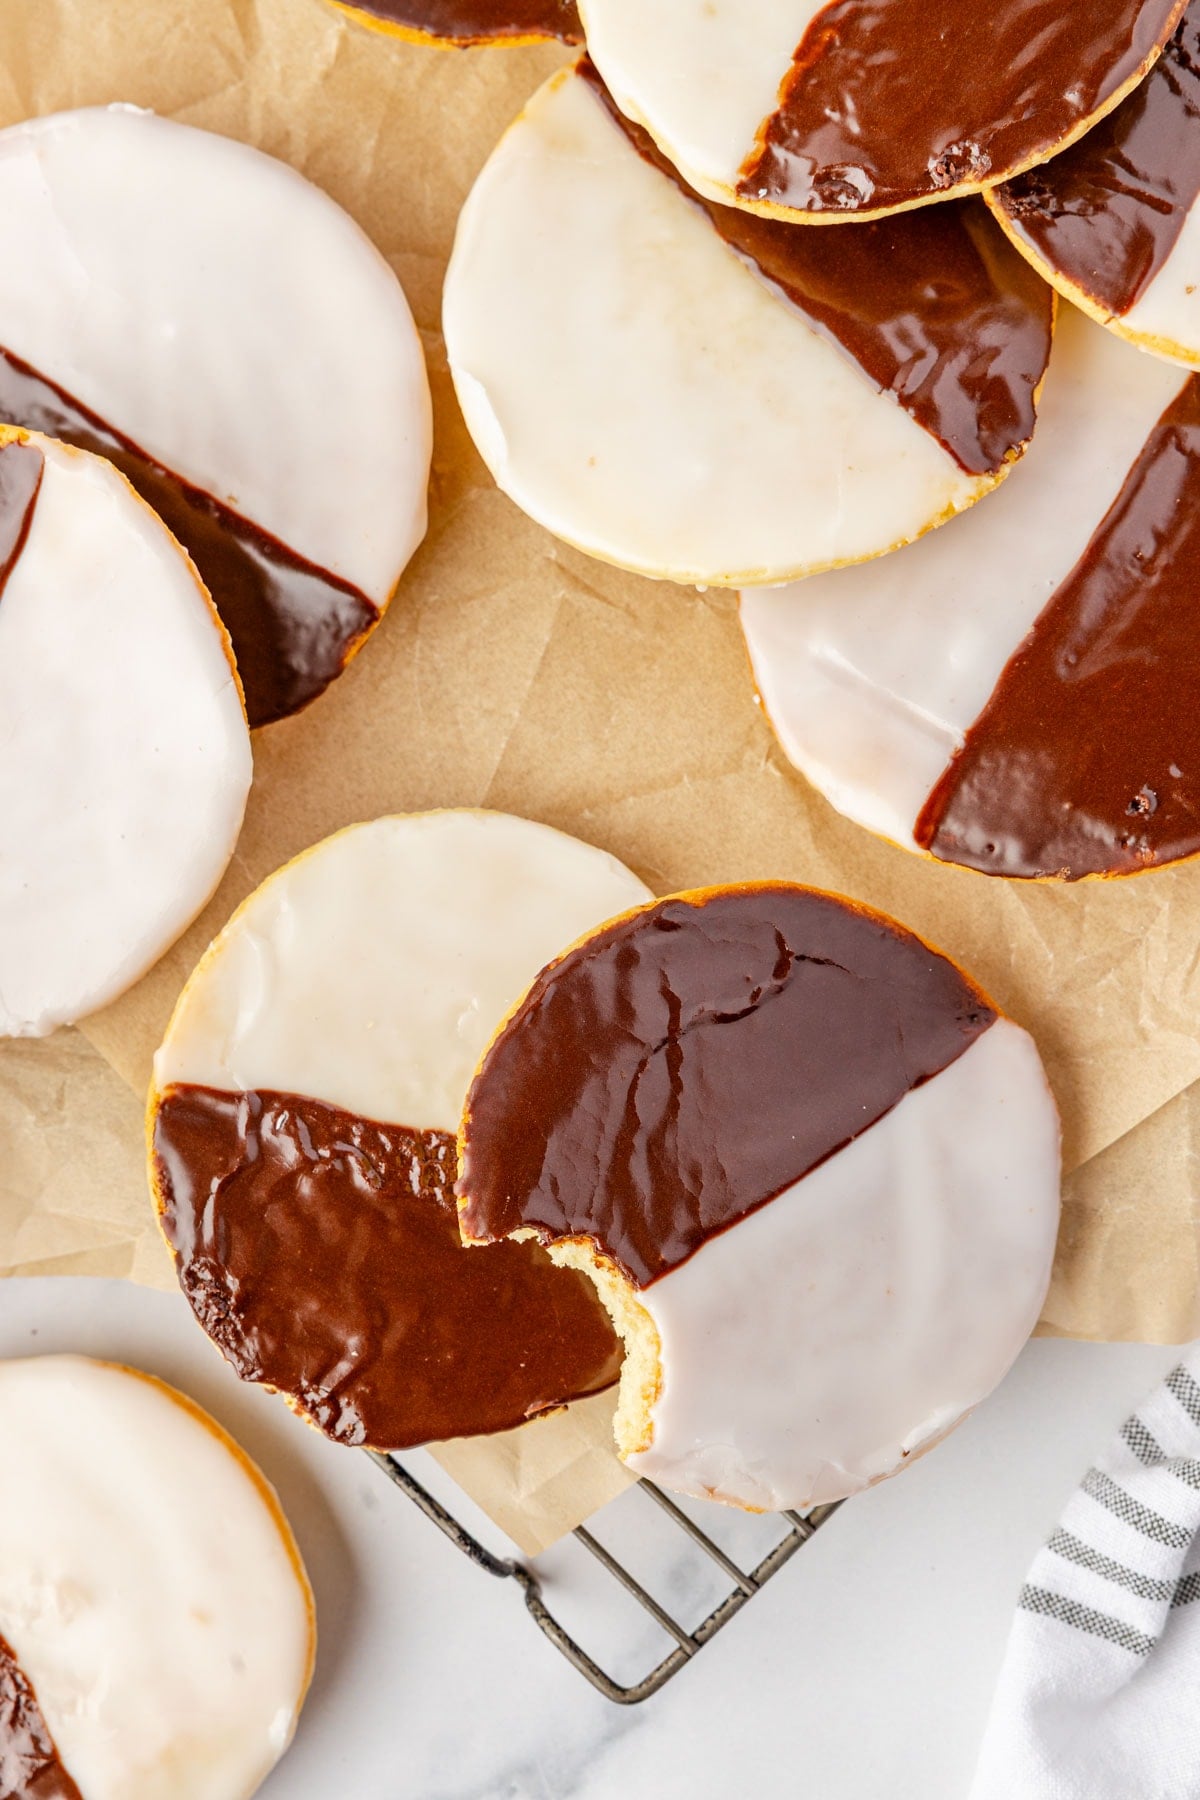
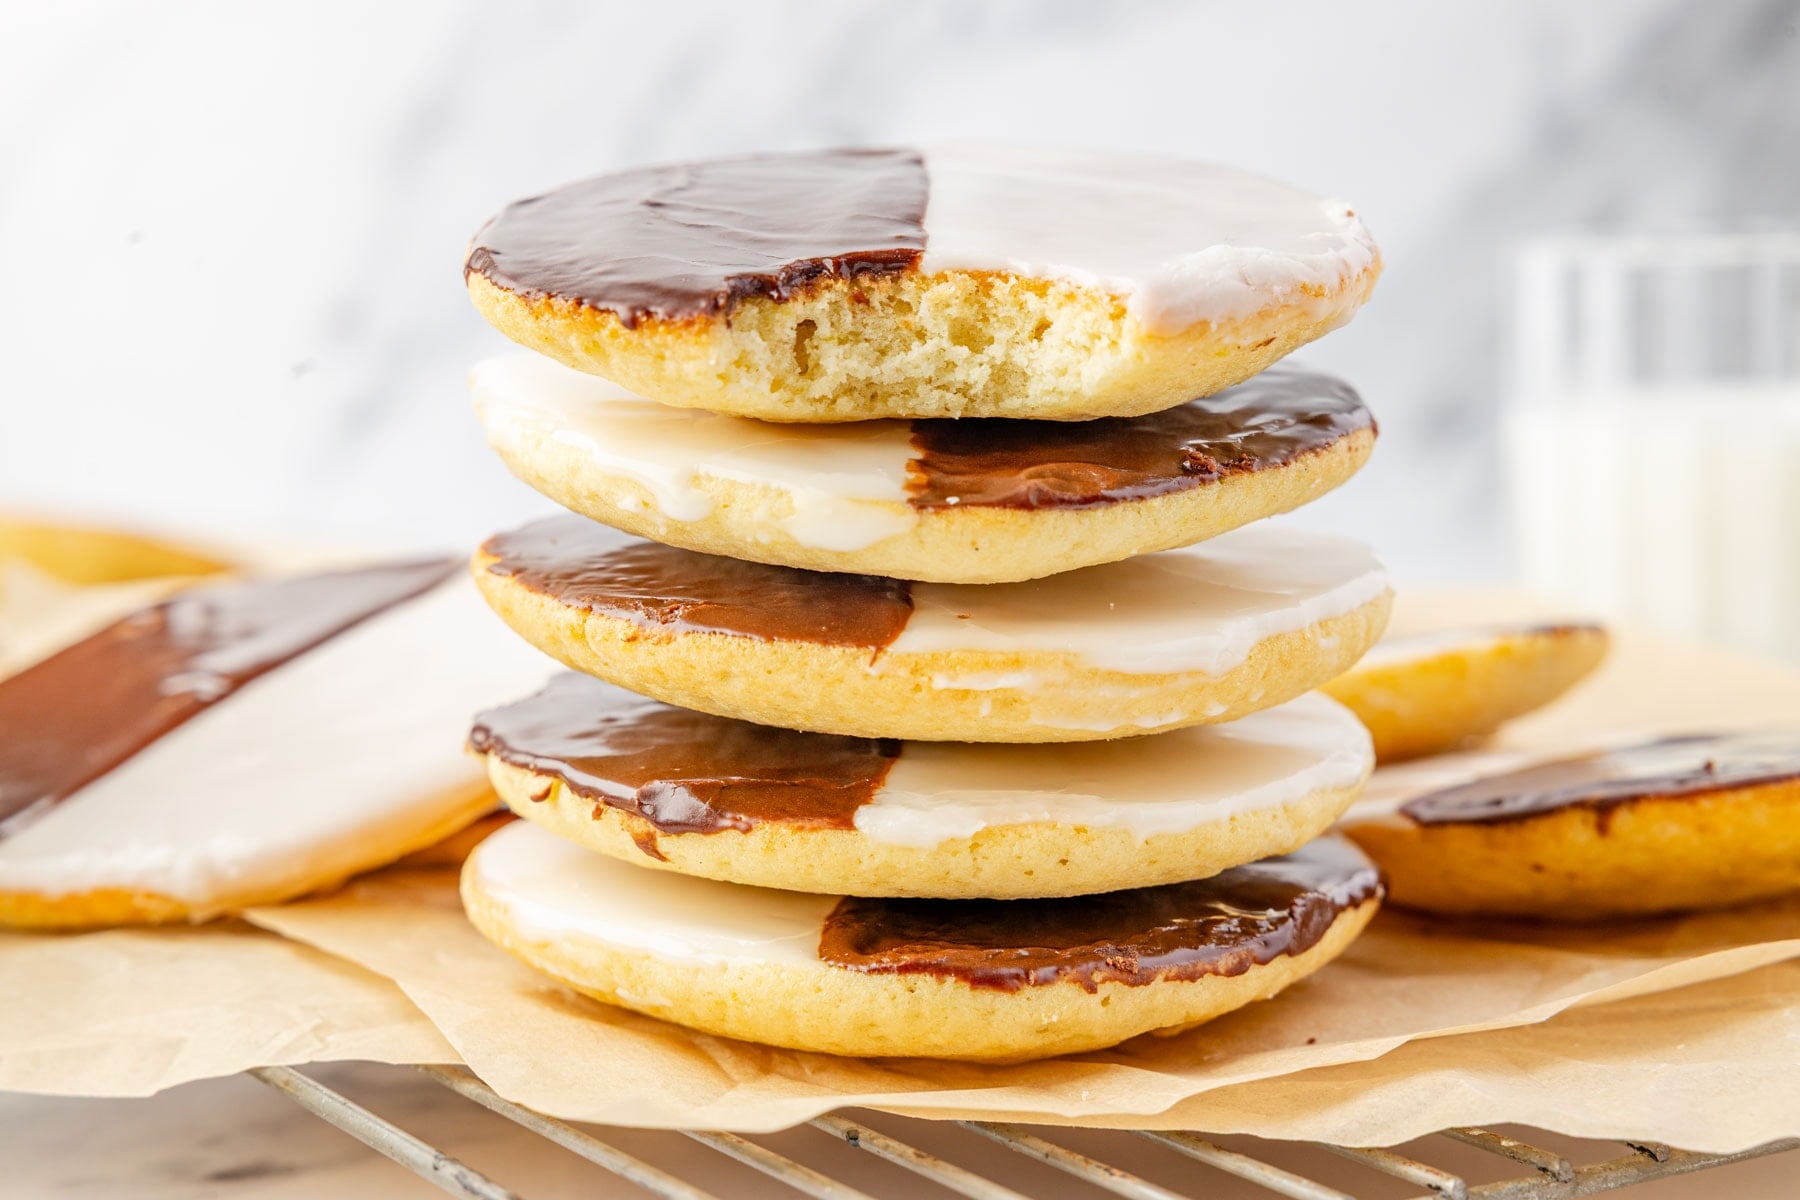
You could probably fill an entire blog just with recipes that scream New York City, but one that always stands out to me are classic New York Black and White Cookies. You know the ones. They’re huge, cakey, sweet but not too sweet, and topped with a thin layer of gooey black and white glaze that gets that perfect crunchy crust over the top.
They started appearing in German and Jewish bakeries over a century ago, but now they can be found at just about any bakery, deli, or bodega in the area.
A lot of people will refer to these as Halfmoon cookies, but any New Yorker will vehemently tell you that they are not in fact the same. Black and Whites have a flat top, a light cakey texture, and a glaze-like frosting. Halfmoons, which originated in Utica, look similar but have a denser texture with a domed top (more like a cupcake), a milder flavor, and buttercream frosting.
Both are delicious in their own right, but when it comes to a classic NYC treat that I want to enjoy with a strong cup of coffee, these Black and White cookies have my heart.

Ingredients You’ll Need
For the most part, these cookies use standard baking ingredients that most people should already have in their kitchen. In addition to staples like flour, sugar, and butter, you’ll need:
Buttermilk. The acidity in buttermilk reacts with the baking powder, helping the cookies rise and giving them their light, cake-like texture and delicate crumb. It contributes to their subtle tangy flavor. This ingredient cannot be left out of the recipe, it just isn’t the same at all without it. In a pinch though, you can make DIY buttermilk using 1 cup of whole milk and 2 Tablespoons of fresh lemon juice.
Lemon Zest. While these aren’t lemon cookies, a little lemon zest is crucial to their classic flavor. Again, they just don’t taste the same without it. For the best zest, use organic, unwaxed lemons.
Cocoa Powder. You can use any cocoa powder, but the darker yours is, the darker your icing will be. Black Cocoa Powder is an extra dark Dutch Processed cocoa that literally looks black. Regular Dutch processed cocoa like what you’d find in most grocery stores is still dark, but will have more of a chocolate color (it’s what I used here). Unsweetened cocoa powder that hasn’t been Dutch processed will have more of a tan color.
Light Corn Syrup. Corn syrup isn’t something I use often, but it is necessary in some baking recipes. Here, it gives the icing it’s sheen and contributes to the texture, which is crisp on top and slightly chewy underneath.

Pro tips
- If using slated butter, reduce the amount of added salt in the recipe by half.
- For a gluten-free option, use 1:1 gluten free flour and add an additional 1/4 cup of buttermilk.
- Be sure to let the cookies cool completely before frosting them, otherwise the frosting will melt and make a mess. To speed up the cooling process, you can put them in the freezer for 20 minutes.
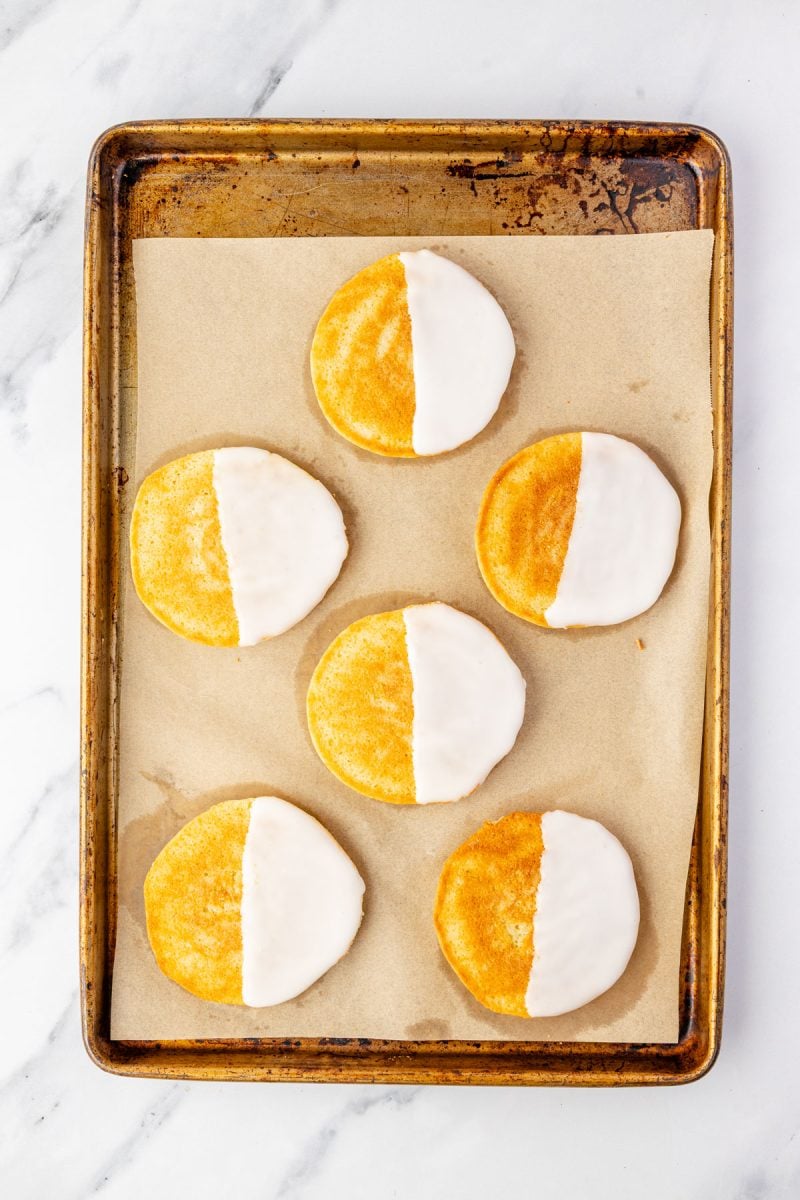
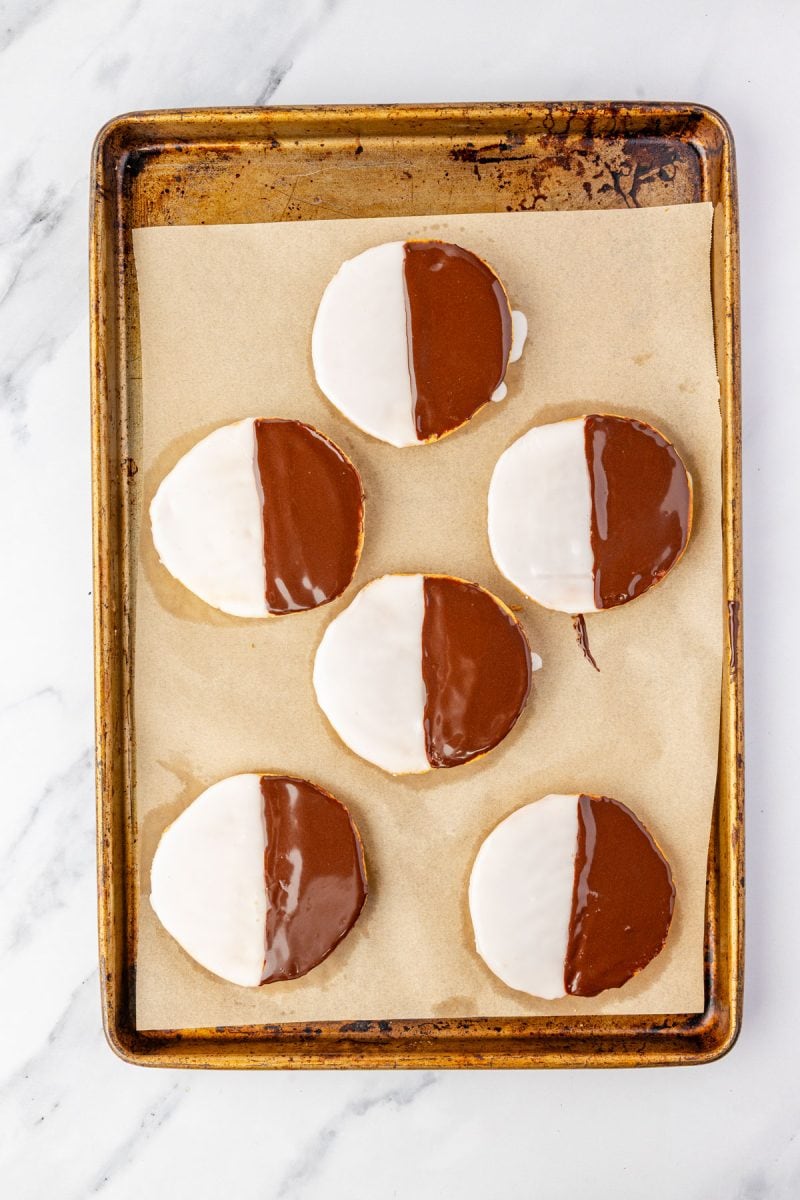
- To get the cleanest line between the frosting colors, frost the white sides first, then let it set up for a few minutes until it begins to crust over. This will keep it from bleeding into the darker side.
Commonly asked questions
How to store them?
You can keep black and white cookies in an airtight container on the counter for up to 3 days or in the fridge for up to 5 days.
If you want to freeze them, I recommend freezing them unfrosted and adding the frosting after they’ve thawed. They can be frozen for up to thee months.
What to serve them with
They’re great on their own but you really can’t beat a black and white cookie with a cup of strong brewed coffee!
Why do you frost the bottoms instead of the tops?
When you flip the cookie over, the flat, smooth bottom faces up giving the cookie a more uniform look and makign them easier to ice. If you try icing the domes side, it will run down and off the cookie rather than being a pretty, smooth layer.
Are they really supposed to big this big?
Yes — that’s the New York way! You can definitely make them smaller (I’ve done mini cookies with a 2 teaspoon scoop) but they’ll be more difficult to frost.
More delicious New York inspired recipes
- Utica Greens
- Chicken Riggies (Spicy Chicken Rigatoni)
- Homemade Chicken Spiedies (Low Carb, Gluten Free)
- Beef on Weck Sliders
- Creamed Spinach
- Classic Egg Cream Soda

New York Black and White Cookies
Equipment
Ingredients
Cookies:
- 2 cups all-purpose flour
- ½ teaspoon salt
- ½ teaspoon baking powder
- ½ teaspoon baking soda
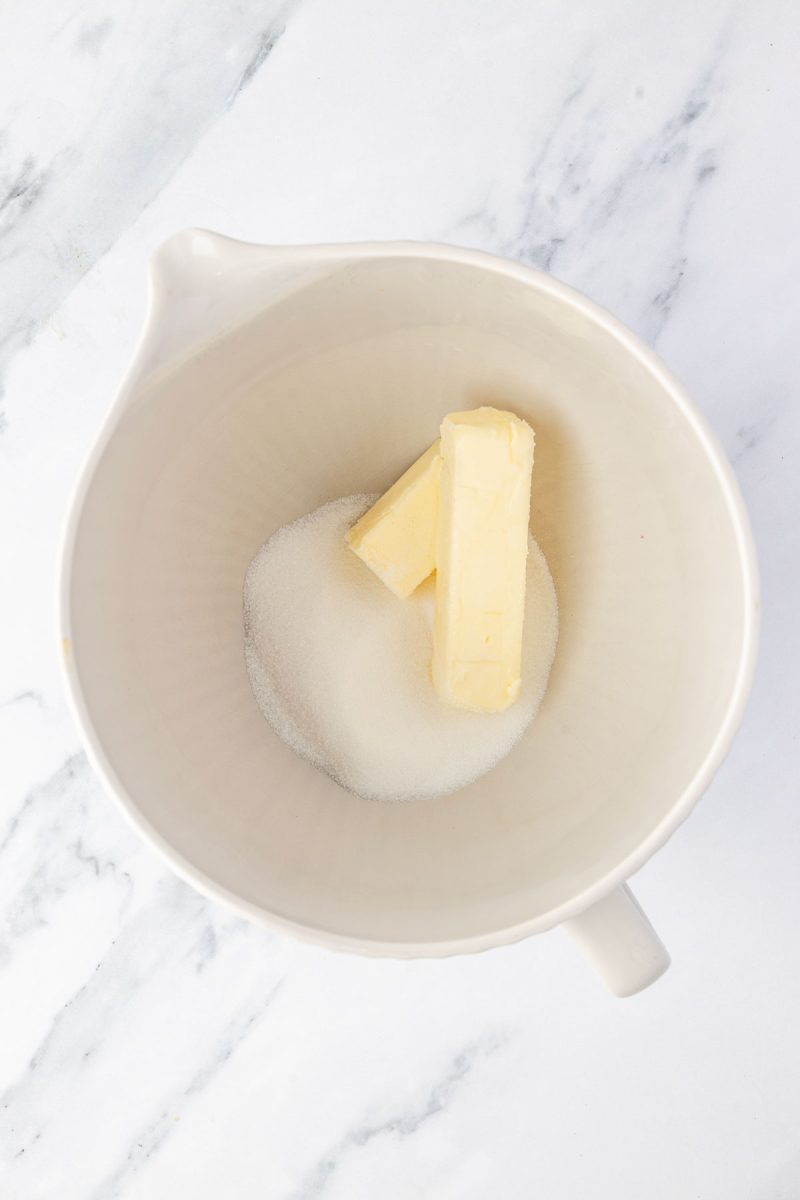
- ¾ cup unsalted butter room temperature
- 1 cup granulated sugar
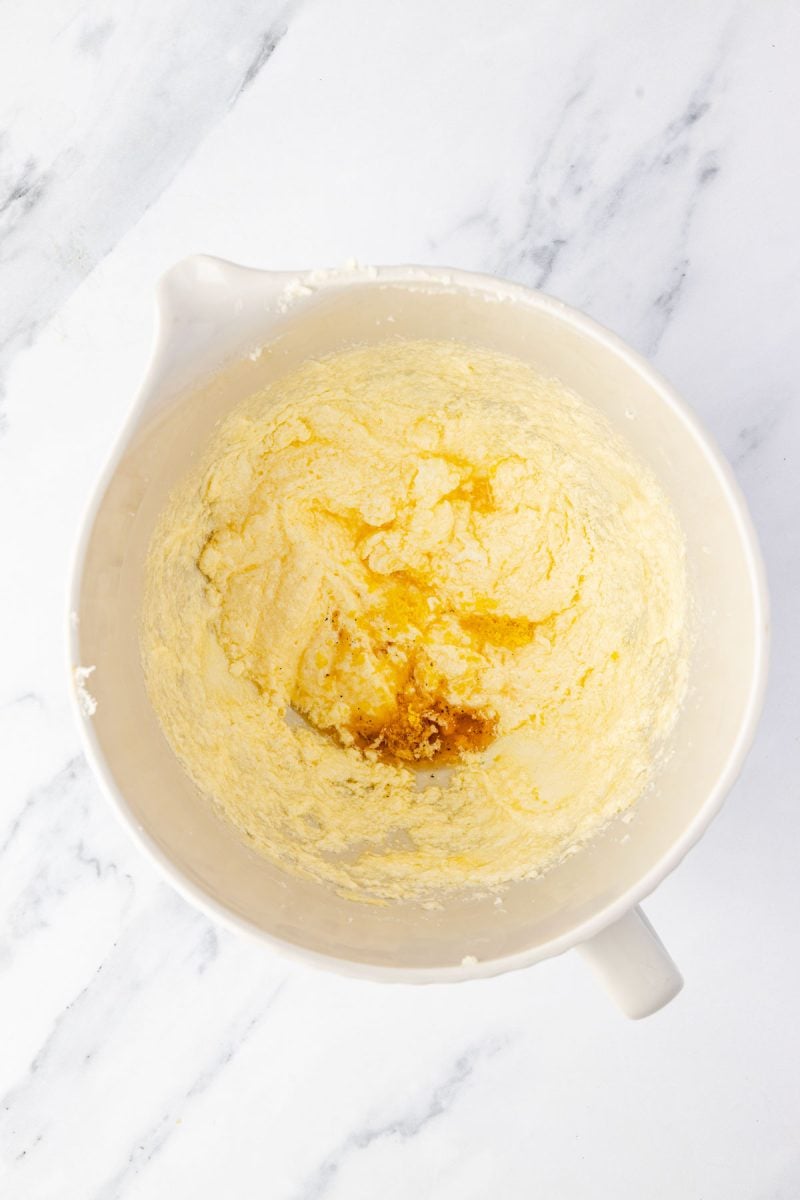
- 2 large eggs
- 1 lemon zested
- 1 teaspoon vanilla extract
- ½ cup buttermilk
Frosting:
- 2 cups powdered sugar
- 1 tablespoon light corn syrup
- 1-2 tablespoons hot water
- ¼ teaspoon vanilla extract
- ¼ cup Dutch process cocoa powder
Instructions
- Whisk together 2 cups all-purpose flour, ½ teaspoon baking powder, ½ teaspoon baking soda, and ½ teaspoon salt in a medium mixing bowl.
- In the bowl of your mixer, cream ¾ cup unsalted butter and 1 cup granulated sugar until light and fluffy, about 2 to 3 minutes.
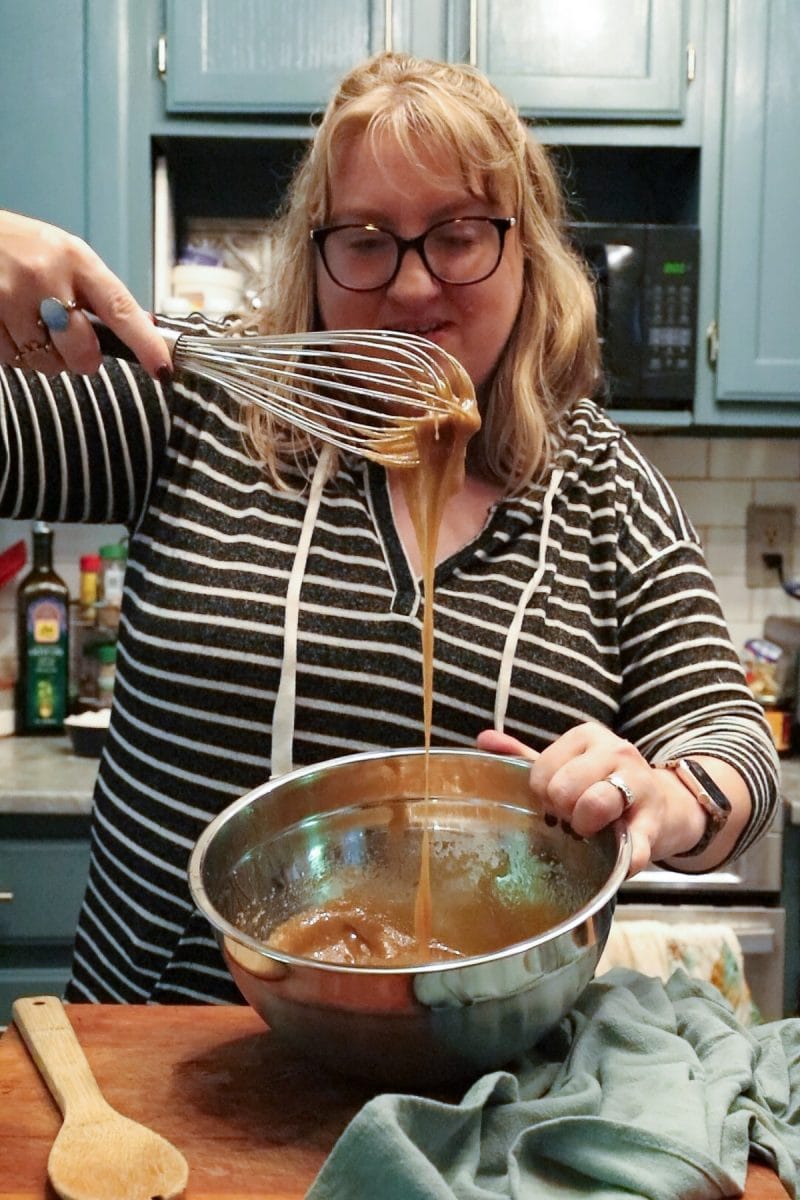
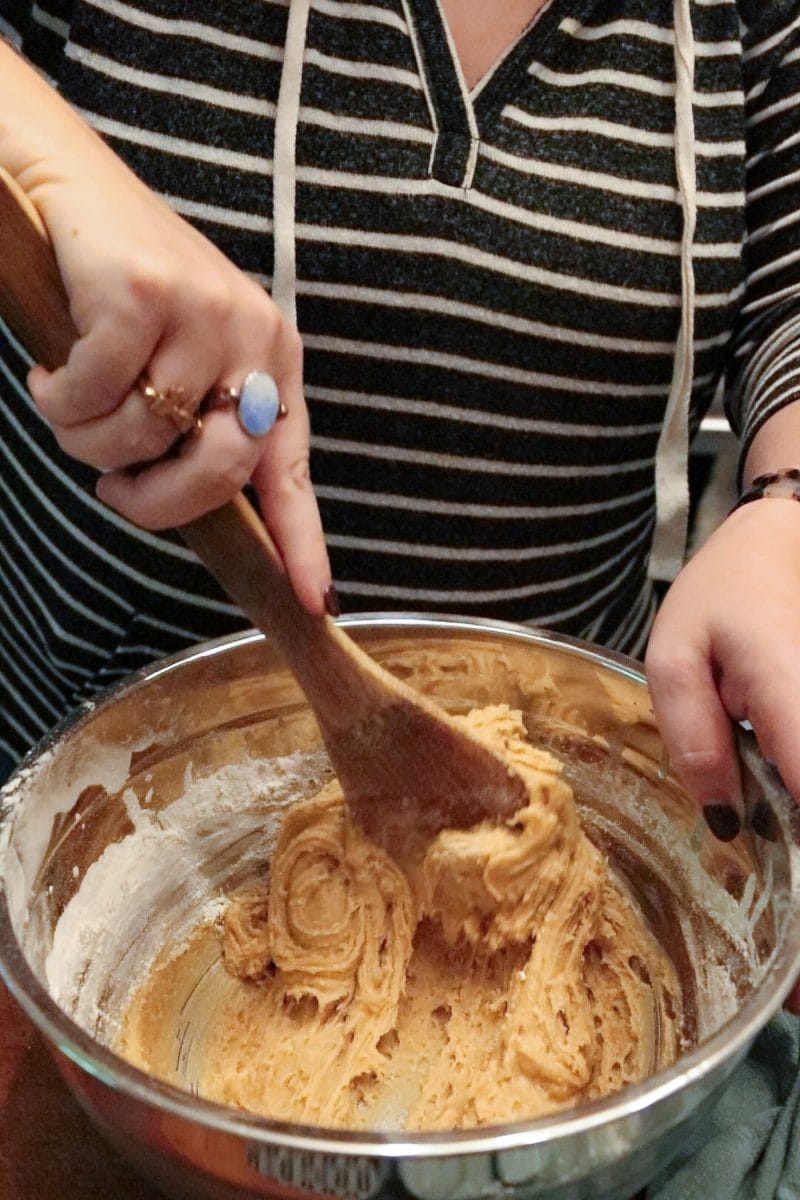
- Mix in 2 large eggs, zest from 1 lemon, and 1 teaspoon vanilla extract. Slowly add the flour mixture just until combined.
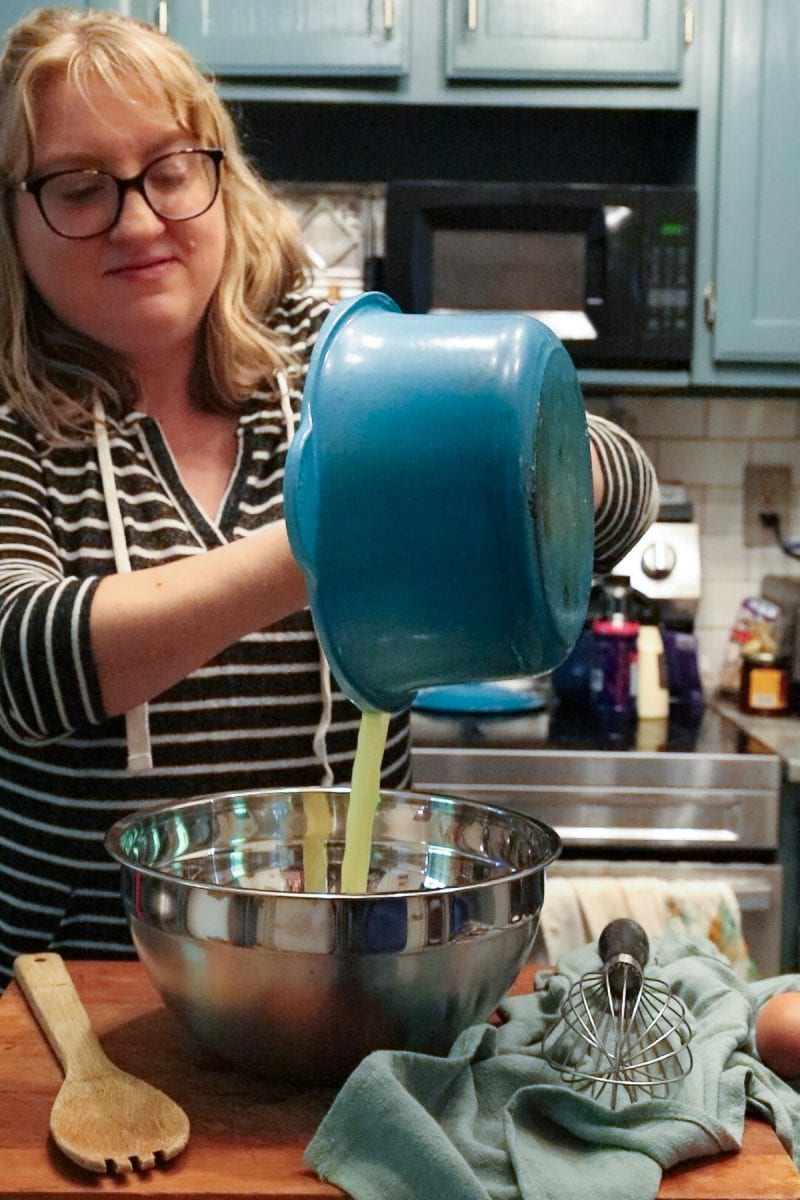
- Mix in ½ cup buttermilk.
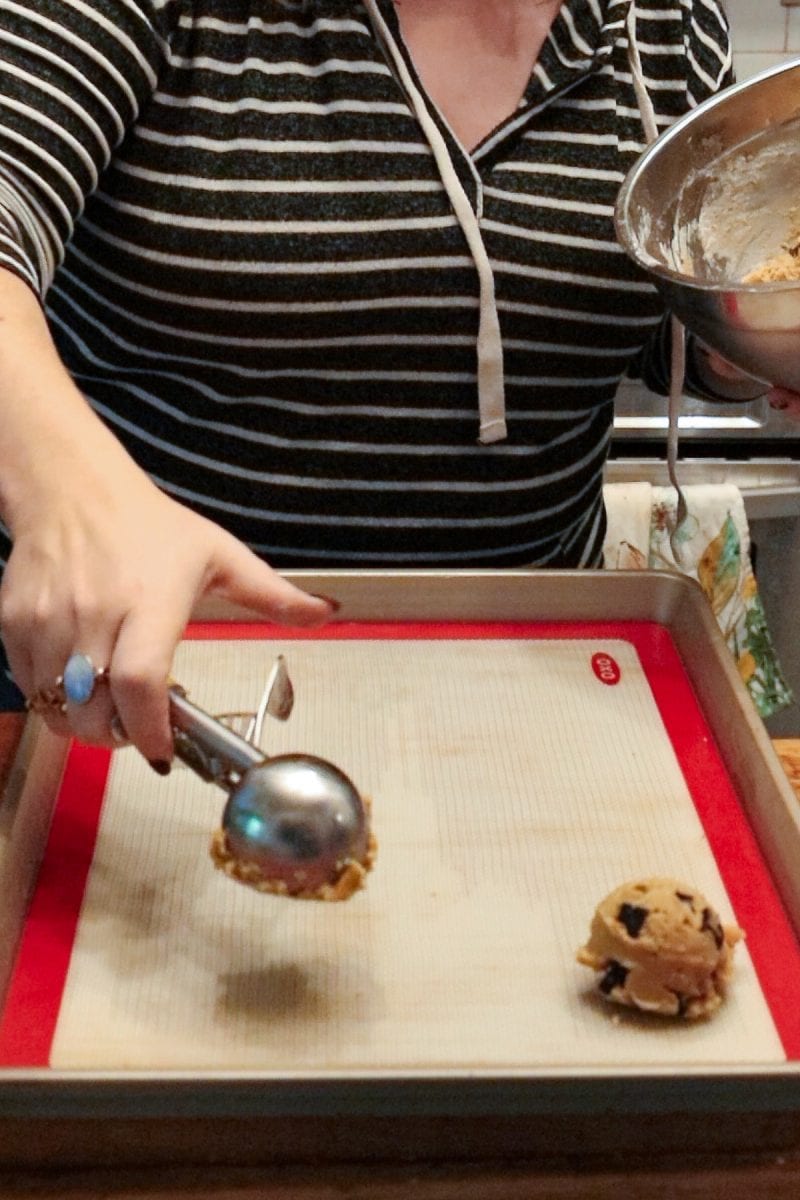
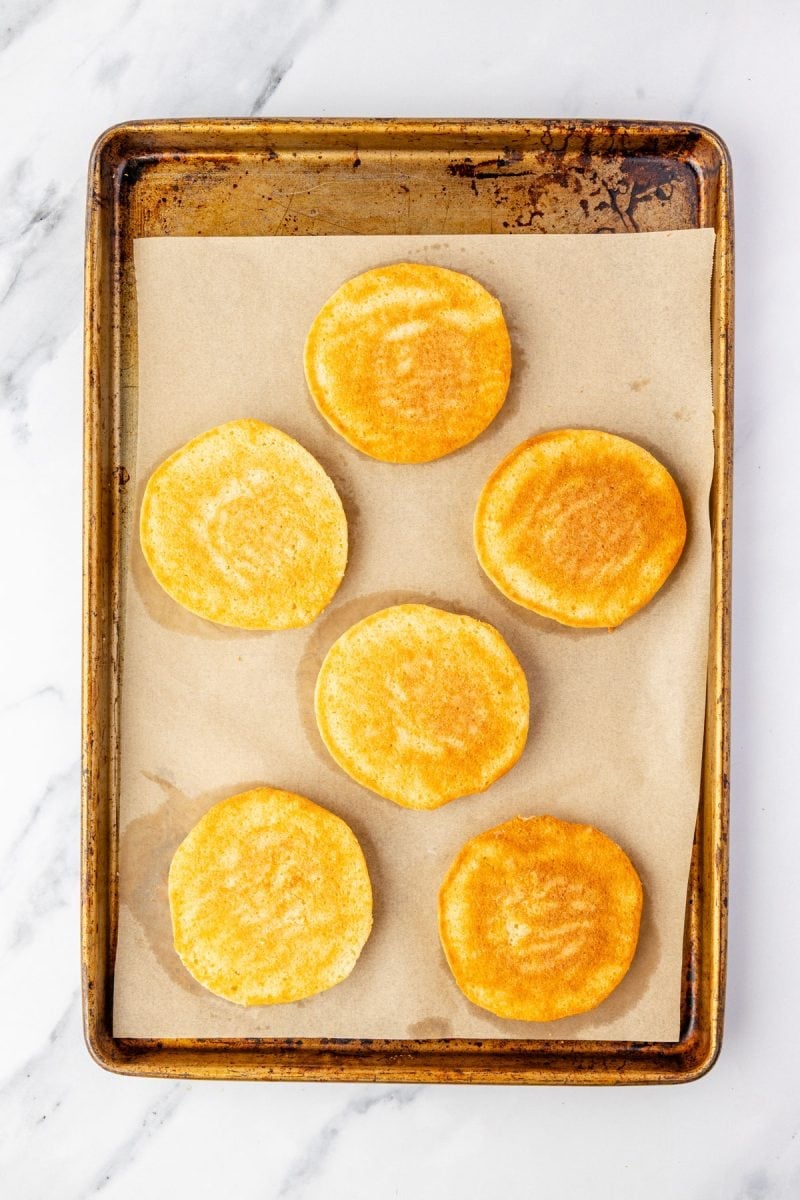
- Scoop the cookie dough with a 3-tablespoon cookie scoop and arrange on a sheet pan, about 3 inches apart. Refrigerate for 30 minutes to allow the dough to firm up. Lightly press down on the cookie dough to flatten.
- Heat oven to 350°F and line 2 sheet pans with parchment paper.
- Bake the cookies for 13 to 16 minutes until the edges are firm. Allow the cookies to cool completely.
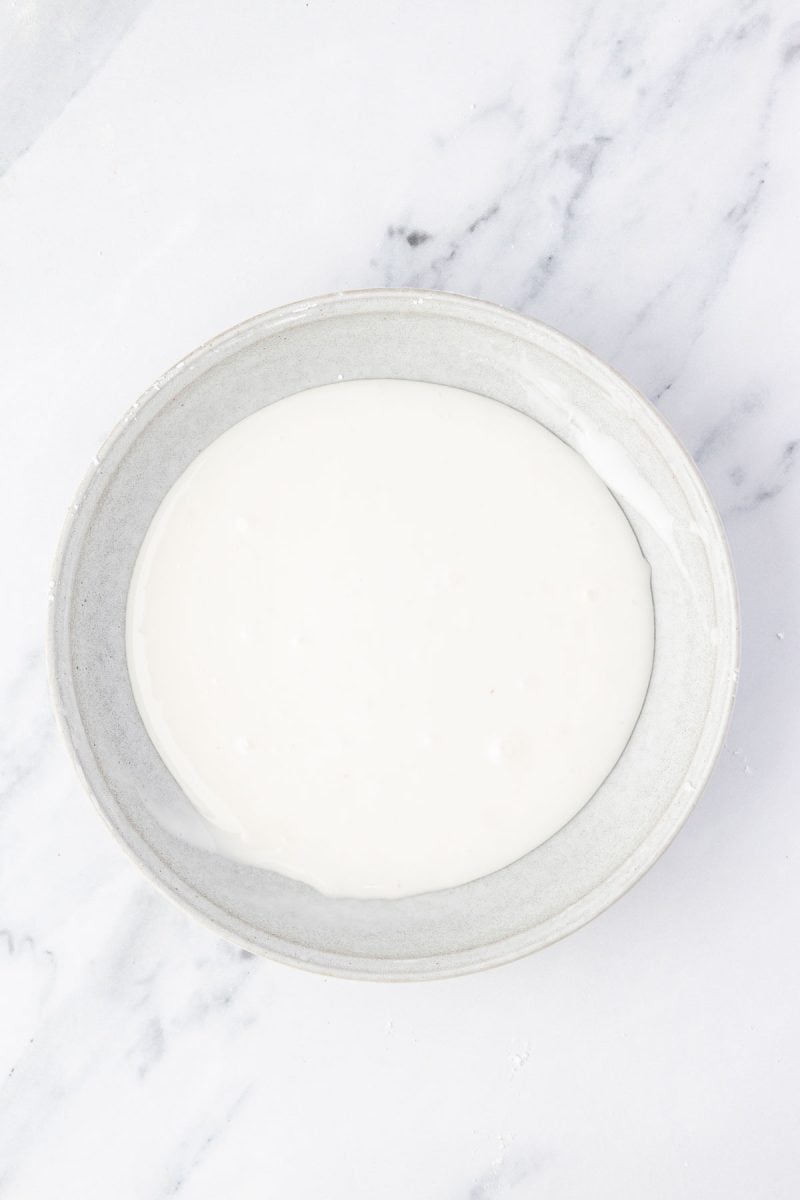
- In a medium mixing bowl, combine 2 cups powdered sugar, 1 tablespoon light corn syrup, 1 tablespoons hot water, and ¼ teaspoon vanilla extract. Add more water if the frosting is too thick; it should be thick enough to hold its shape without spilling off the sides of the cookies, but still be spreadable.
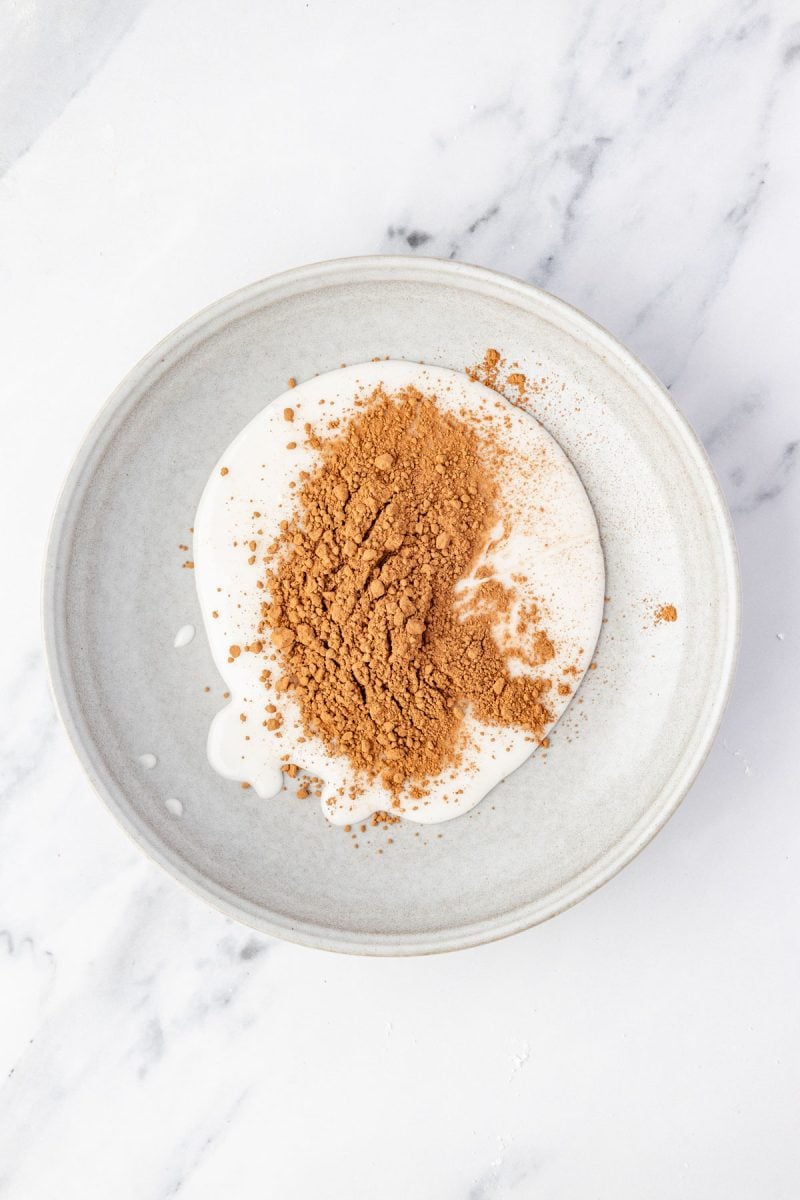
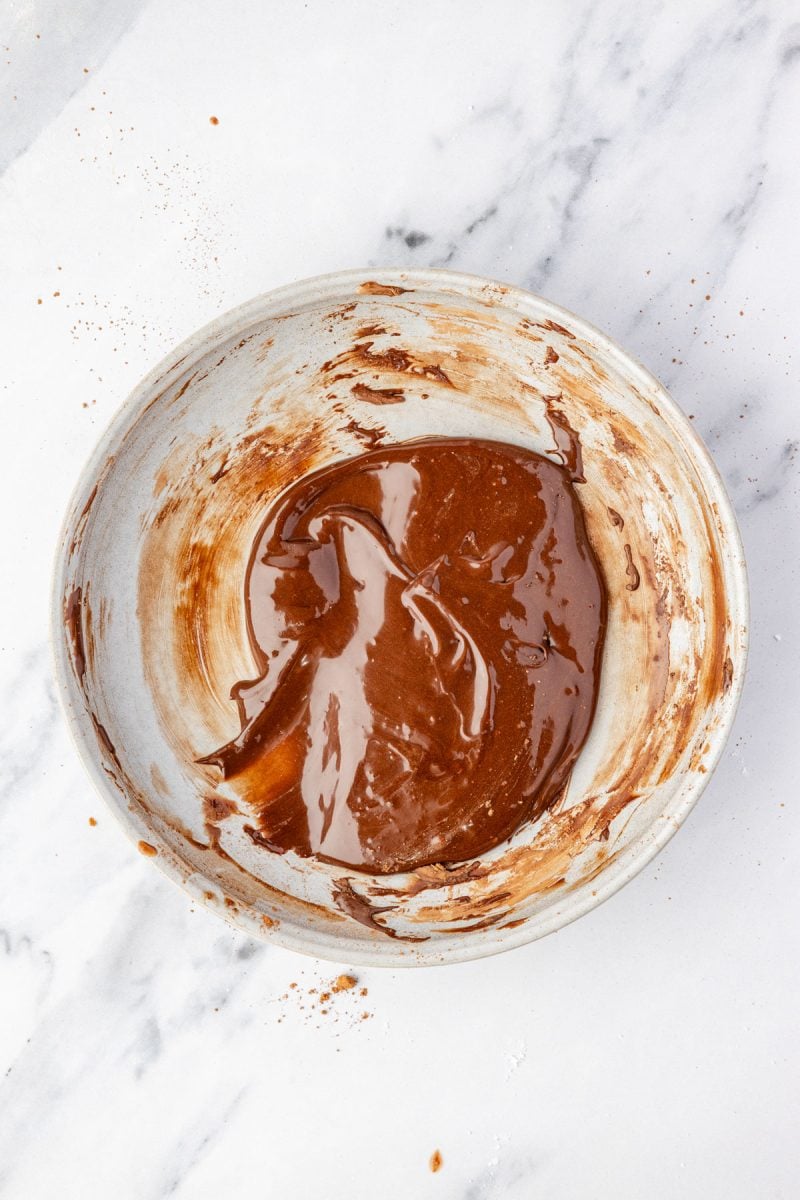
- Pour half of the frosting into a separate bowl and stir in ¼ cup Dutch process cocoa powder.
- Flip the cookies over and frost half of the bottoms with the vanilla frosting. Let the frosting sit for at least 5 minutes, to begin to set and form a crust, then frost the other half with the chocolate frosting.
- Allow the frosting to set completely and enjoy.