Healthy Dessert Recipes
If you’re looking for a sweet treat for after dinner, you’ve come to the right place! I have a major sweet tooth, so I love making cookies, cakes, ice cream and other homemade desserts.
These healthy dessert ideas are made from scratch with nourishing ingredients. Whether you’re looking for gluten-free recipes, following a Paleo or Keto diet, or just want to enjoy a tasty snack with less sugar, we have tons of ideas.
Paleo dessert recipes are naturally sweetened with honey, maple syrup, and dates. Keto desserts are low carb and use sugar alternatives, like stevia and monk fruit. I also love making dairy free dessert recipes using coconut milk and plant-based butter alternatives. And of course, you’ll find plenty of desserts made with minimally processed ingredients like whole grain oats, whole wheat flour, and fresh fruit.
Some of my personal favorite dessert recipes include:
Dairy free cupcakes, chock-full of banana flavor and topped with amazing brown sugar buttercream frosting that you’ll want to eat by the spoonful
Air fryer donut holes made from scratch, like these delightful pumpkin spice donut holes that are perfect for Fall
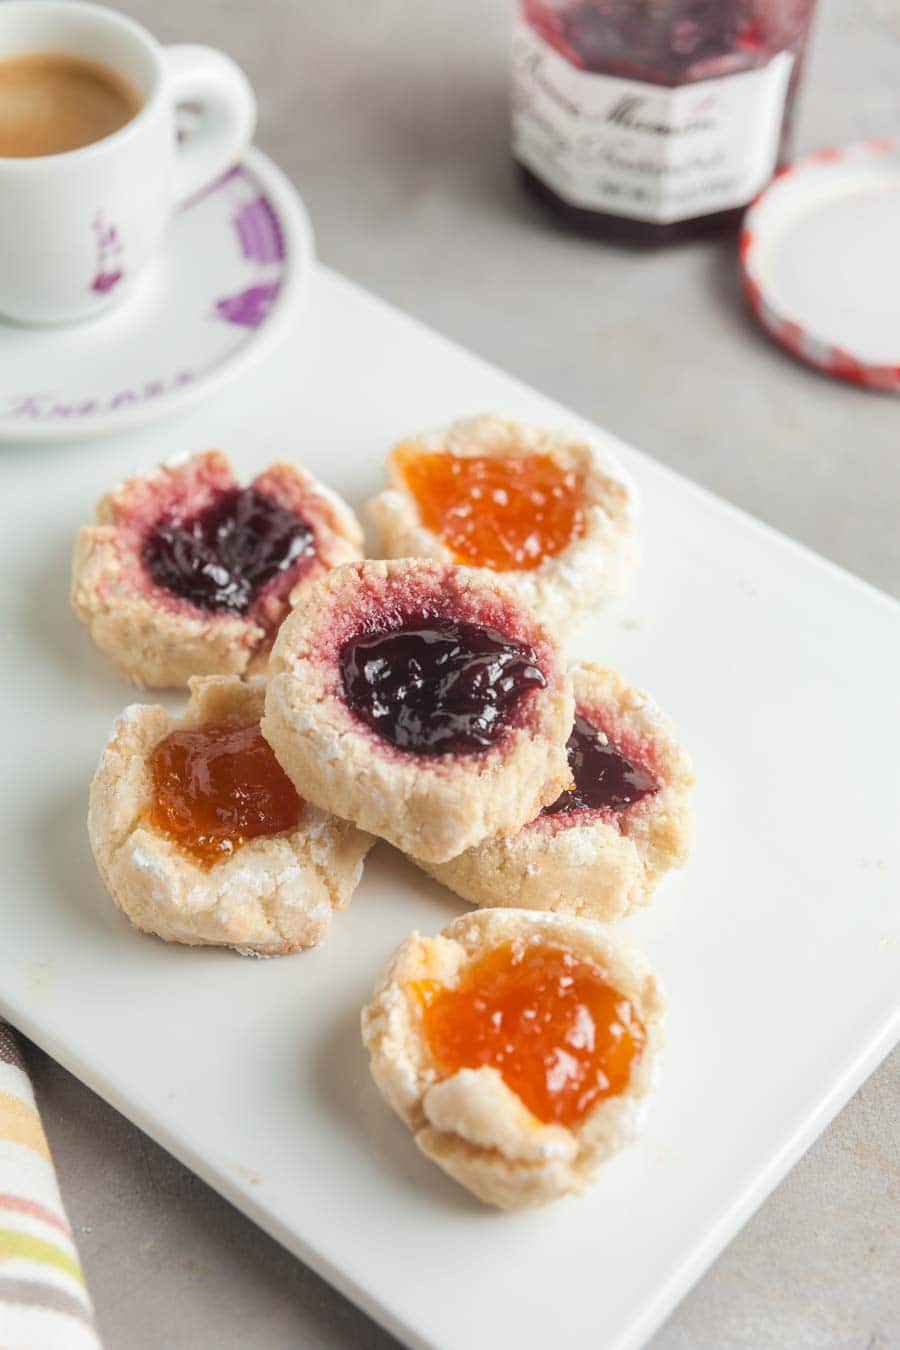
Small-batch thumbprint cookies made with almond flour and topped with apricot and tart cherry preserves
Say goodbye to processed treats and hello to delicious desserts made from scratch in your own kitchen.