Better Dinners. Fewer Dishes.
GET my healthy Delicious GUIDE TO RECLAIMING YOUR WEEKNIGHTS
 What’s in season
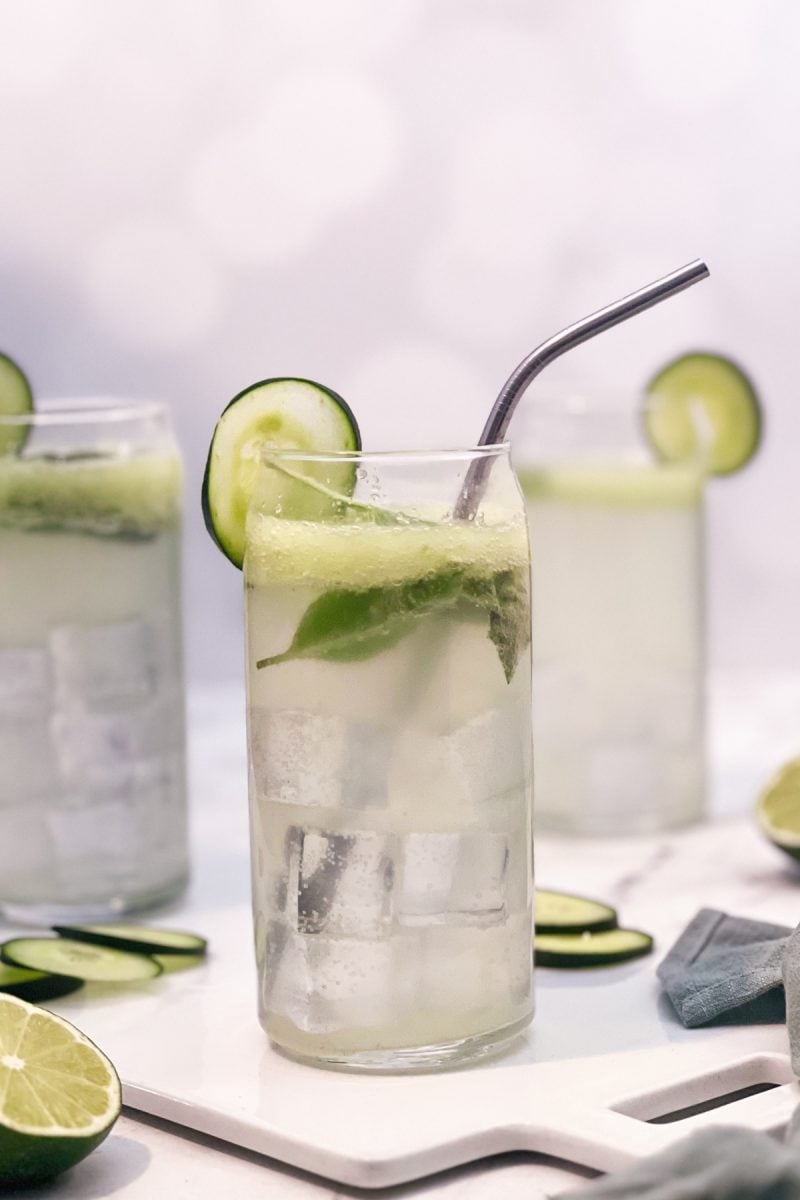
- Cucumber-Basil Spritzers
 With hints of basil and lime and the perfect amount of bubbles, these sippable spritzers that scream summer.
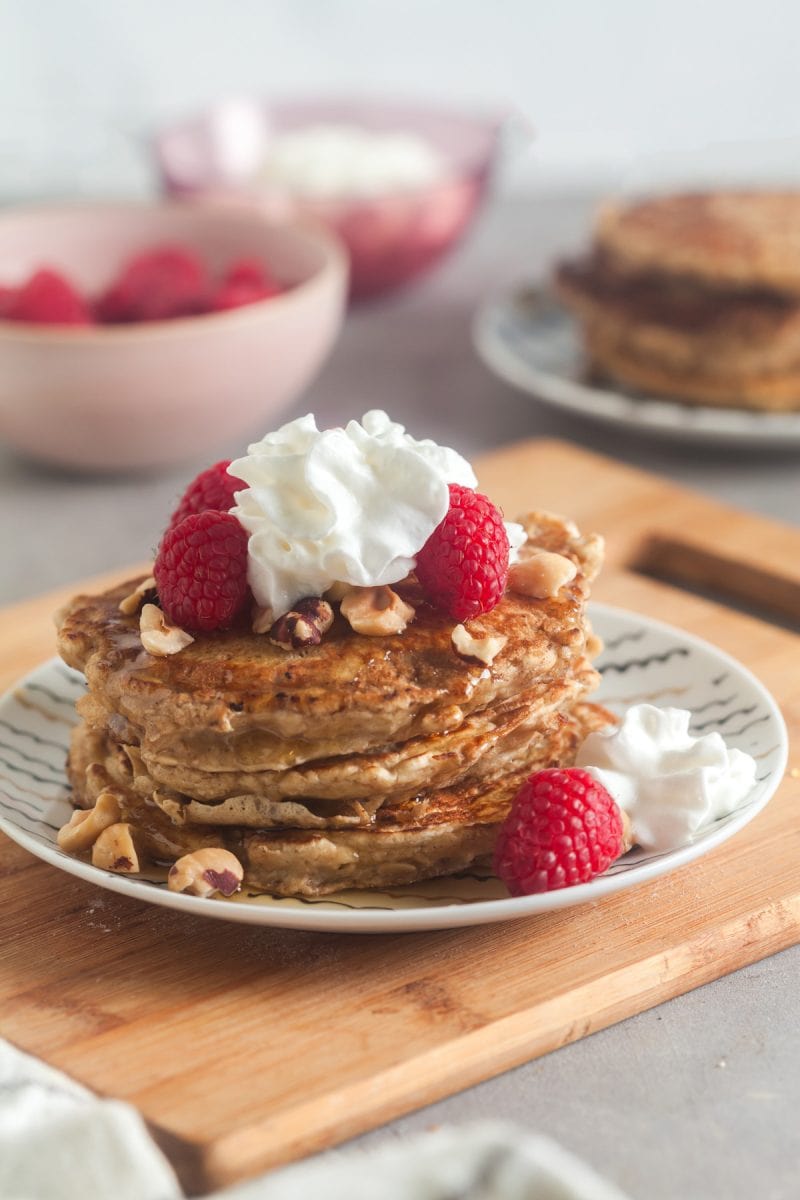
 - Oatmeal Pancakes (Easy Blender Recipe!)Homestyle Oatmeal Pancakes are delicate and fluffy with delightfully crisp, buttery edges.
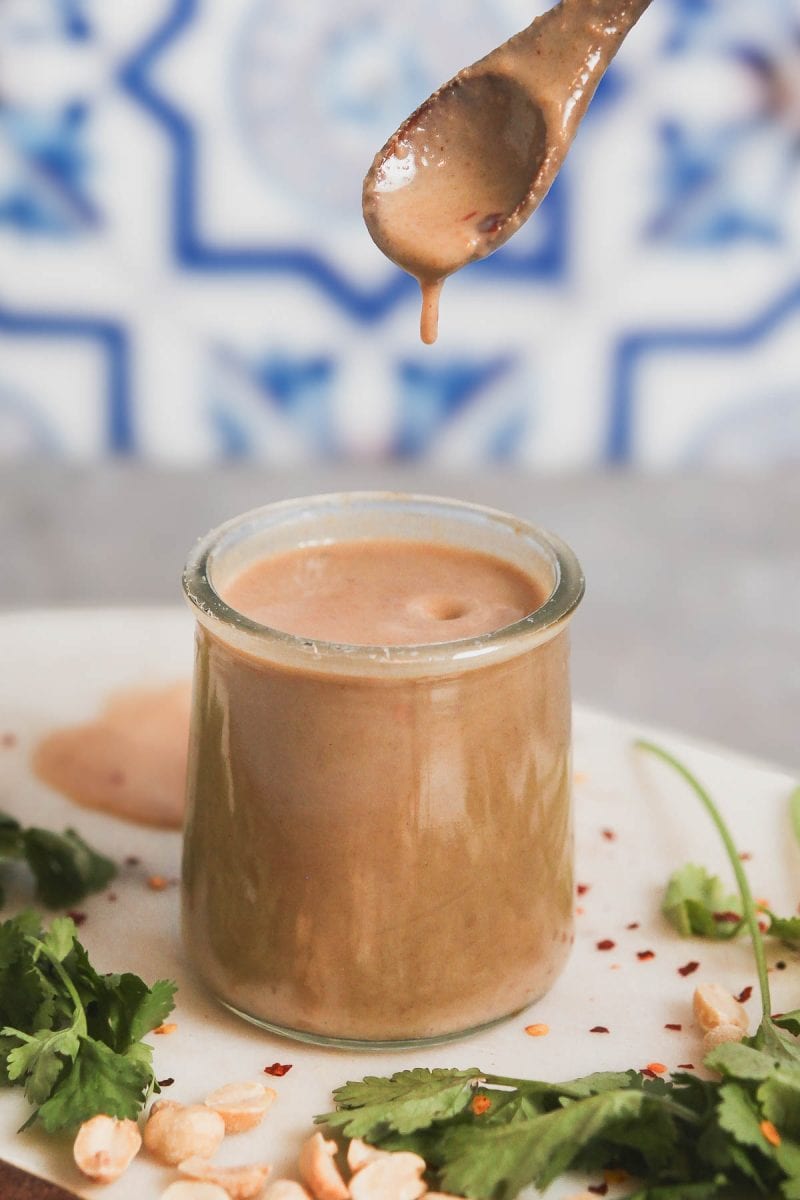
- Easy Vietnamese Peanut Sauce Recipe with Coconut MilkMake your meals memorable with this 5-minute Peanut Sauce recipe.
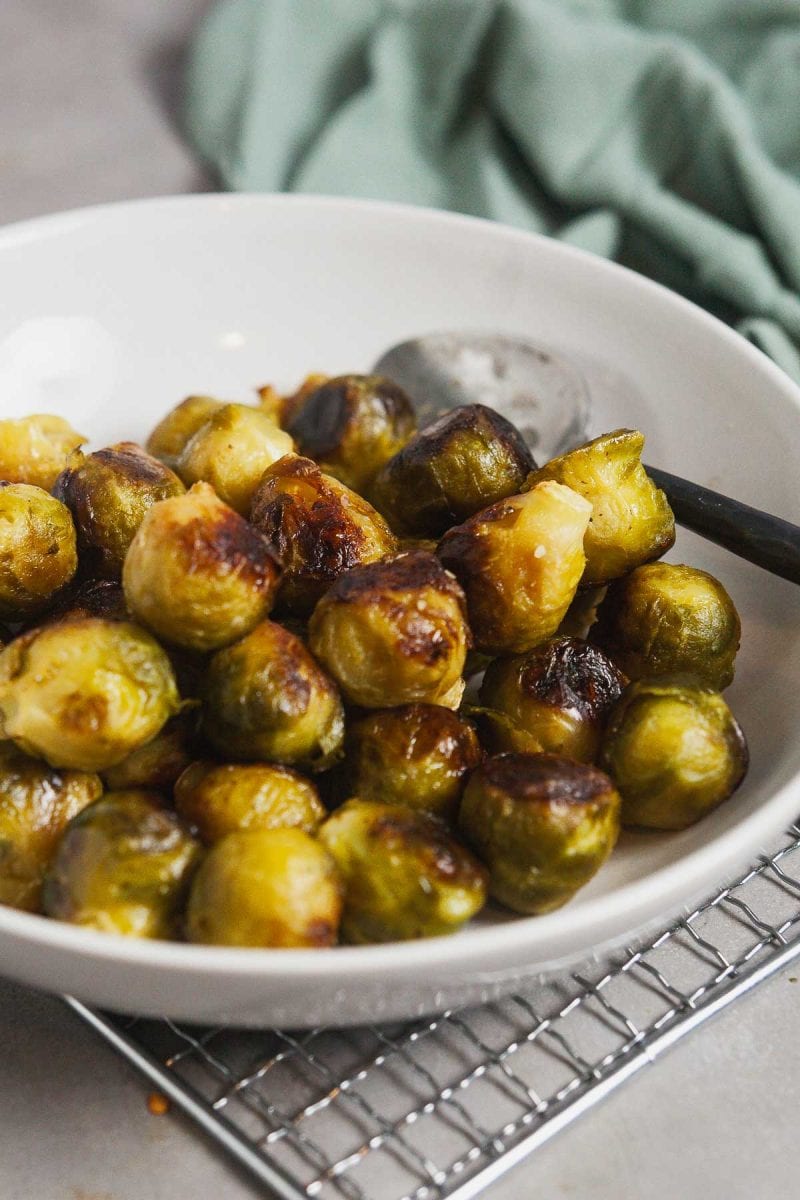
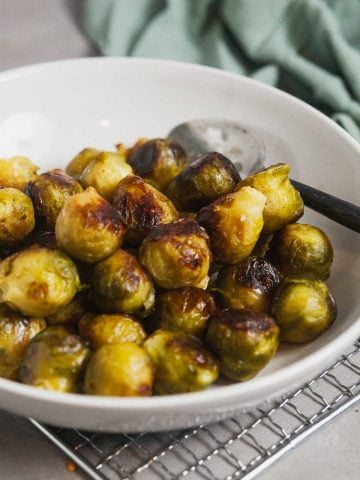
- Easy Roasted Frozen Brussels SproutsFar removed from the mushy frozen vegetables we grew up with, roasted frozen Brussels sprouts go from freezer to plate in less than 30 minutes.
Favorite Healthy Delicious Recipes
AS SEEN ON:

Easy Weeknight Dinners
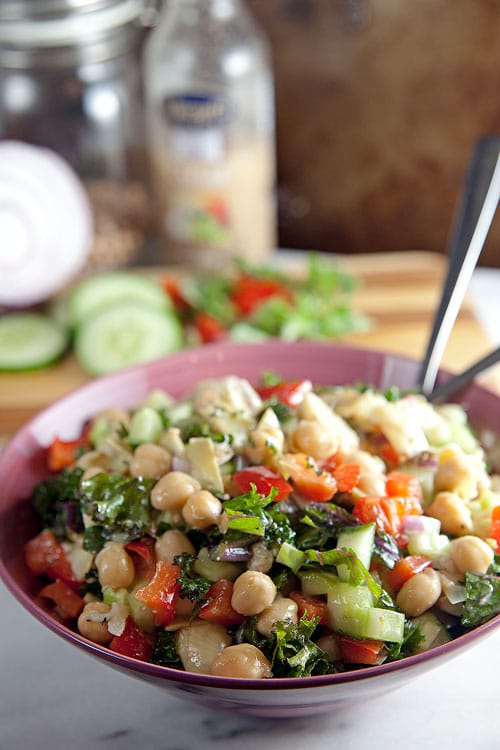
- Crunchy Kale Chickpea Salad with Caesar Vinaigrette
 A vibrant symphony of textures and flavors that showcases how simple ingredients can create an irresistibly satisfying meal.
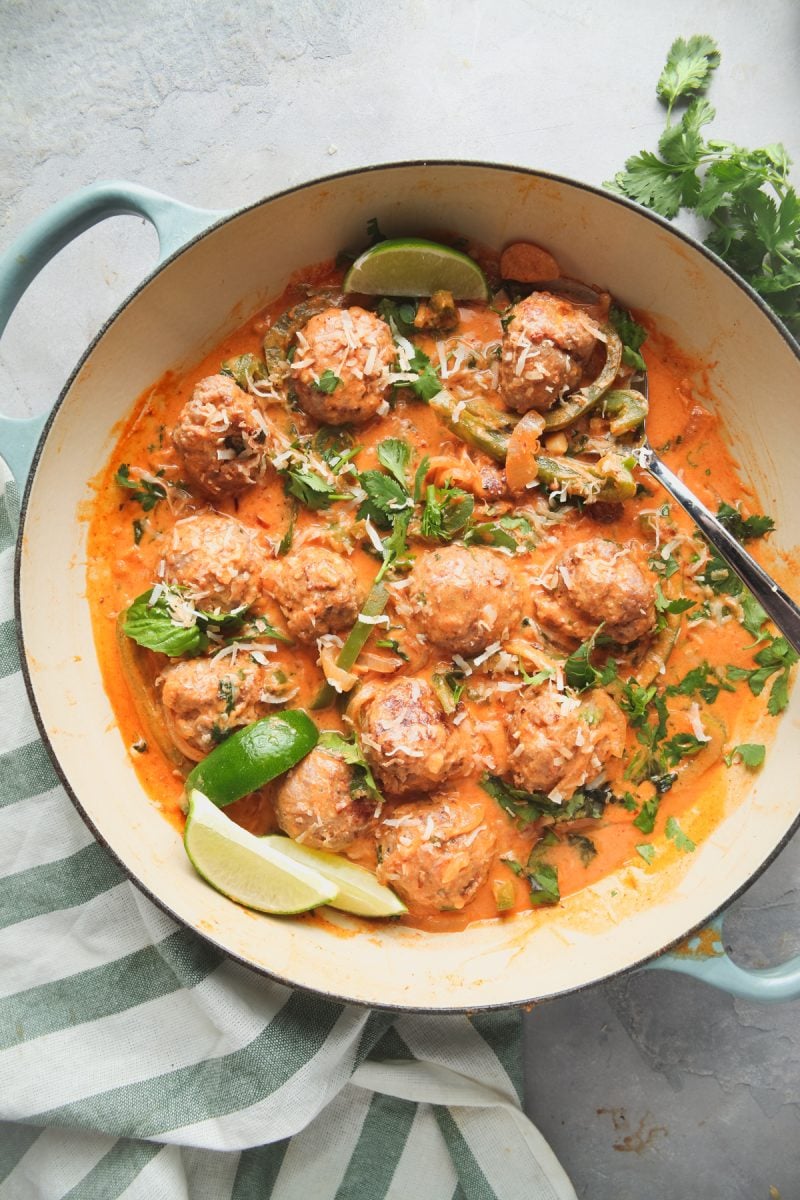
 - Coconut Curry MeatballsThai-inspired curry meatballs are a flavorful new take on a classic comfort food. Red curry paste gives these meatballs a spicy kick that’s balanced out by creamy coconut milk and toasted coconut scattered over the top gives them a fantastic texture and toasty flavor.
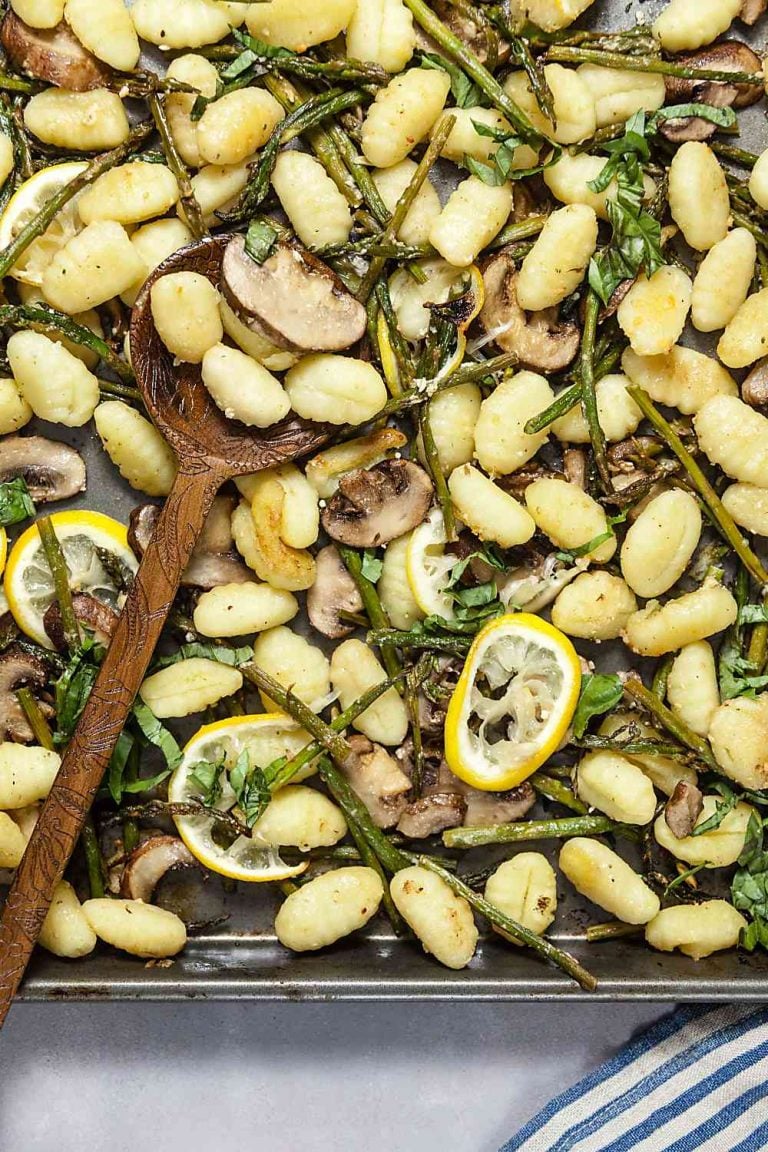
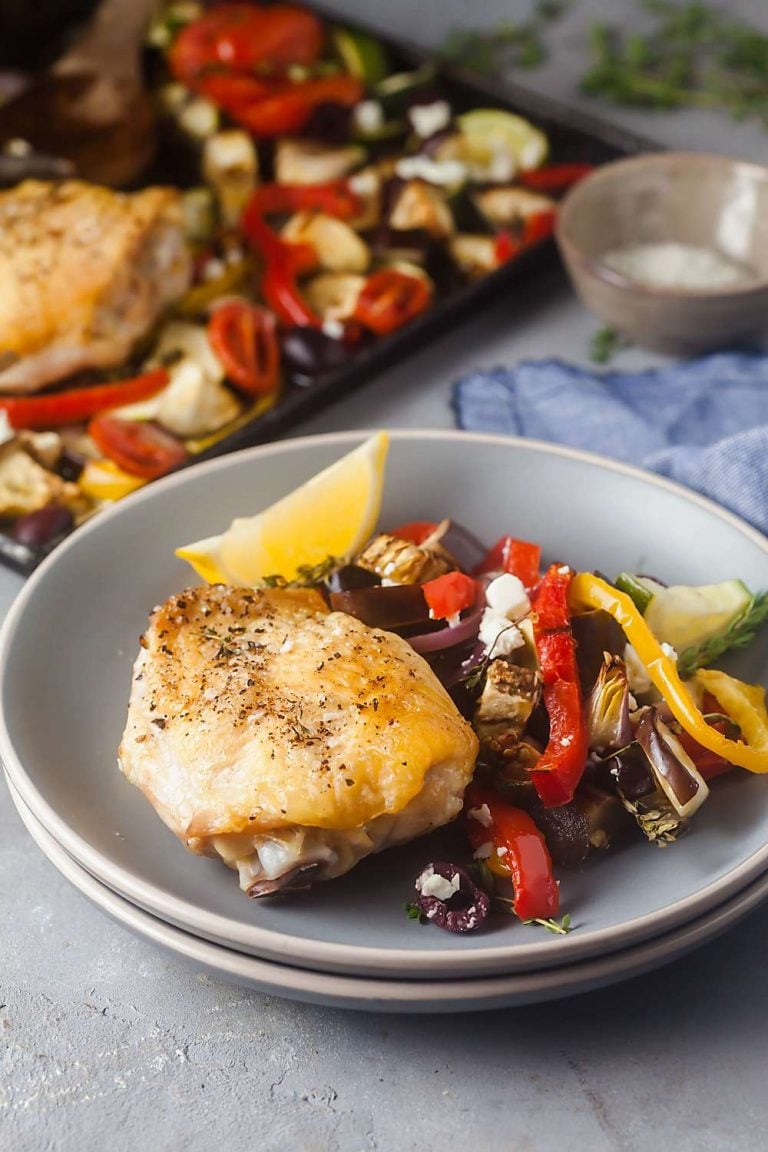
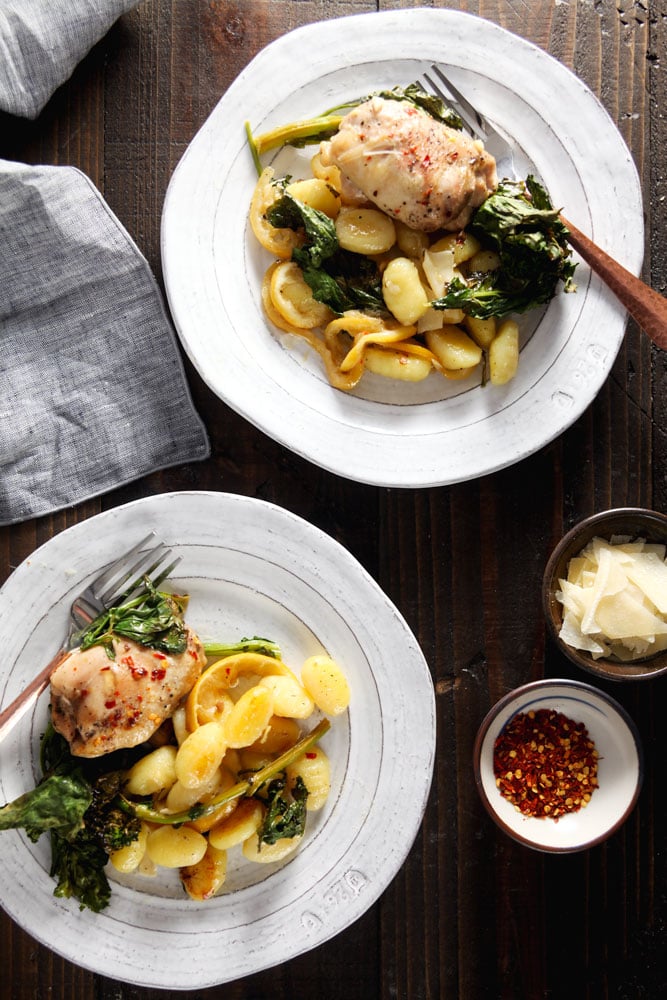
- Sheet Pan Chicken and Gnocchi with Broccoli Rabe
 Chicken thighs, gnocchi, and broccoli rabe all bake together on one pan for a super easy weeknight dinner!
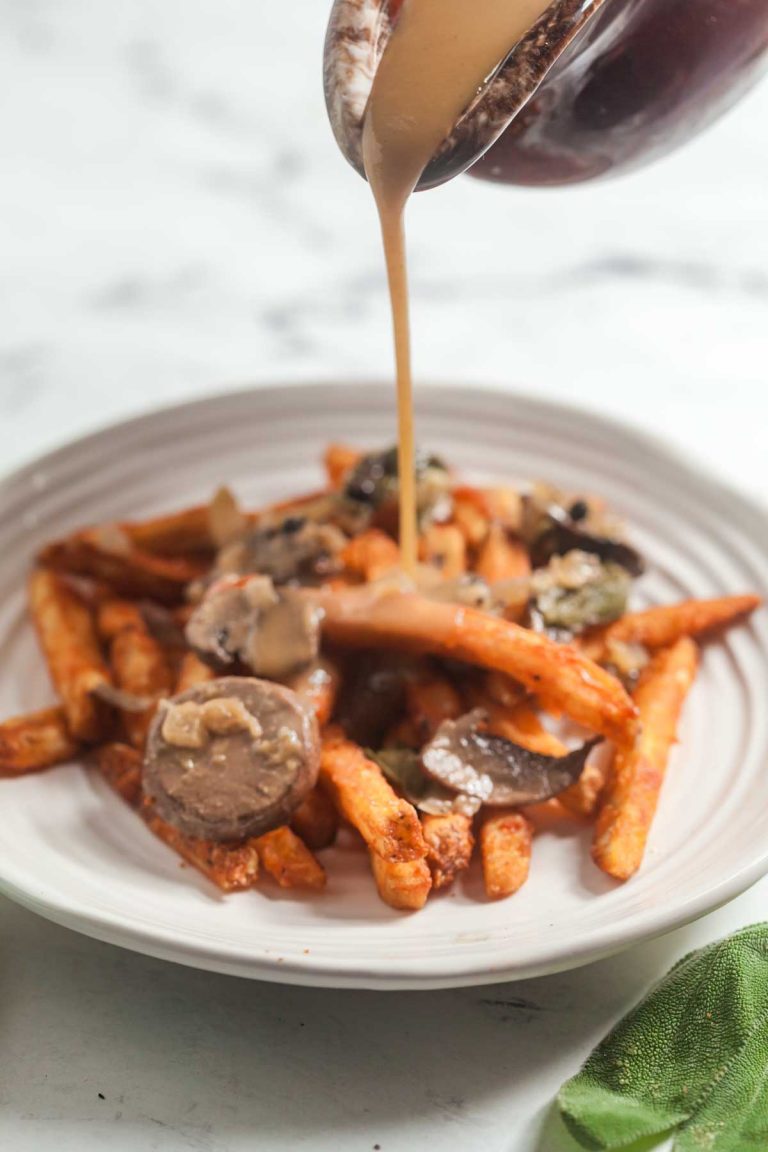
 - Vegetarian Poutine with Mushroom Gravy
 Whether you’re vegetarian or not, you’ll LOVE this vegetarian poutine made with rich mushroom gravy and served over baked french fries.
Hi, I’m Lauren!
I’m a certified plant-based cook, 5-time cookbook author, and enthusiastic omnivore who loves looking for creative ways to make weeknight meals more nutritious using fresh, seasonal ingredients. Read more…

Healthy Instant Pot Recipes
- Instant Pot Corn Chowder (Vegetarian, Gluten-Free)
 This creamy, vegetarian corn chowder is perfect for lazy summer nights. It’s effortless to make, and really highlights the sweetness of fresh summer corn.
 - Instant Pot Basil Chicken with Green BeansThis easy Instant Pot chicken recipe is inspired by one of my favorite take-out meals: Thai basil chicken! You’ll love the vibrant, fresh flavor and the snap of the green beans. Making this take-out favorite at home means you can adjust the spice level to your family’s preferences.
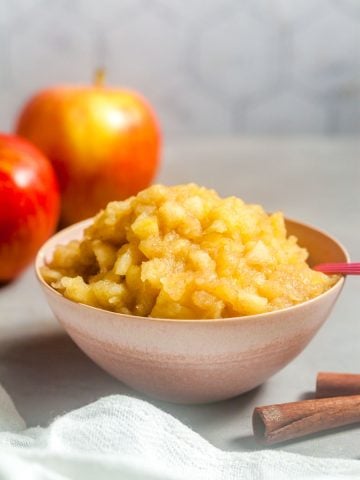
- Unsweetened Instant Pot Apple SauceUnbelievably easy Instant Pot applesauce tastes just like the inside of an apple pie! This recipe is unsweetened and has a touch of cinnamon for the ultimate fall flavor. Enjoy this applesauce warm straight from the pot or refrigerate it for later!
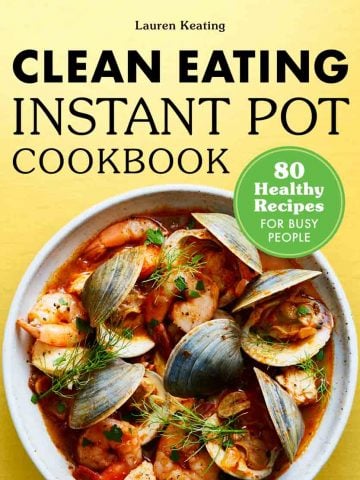
- Introducing Clean Eating Instant Pot CookbookIntroducing Clean Eating Instant Pot Cookbook! Enjoy healthy meals every day of the week with simple, whole food recipes that are perfect for set-it-and-forget-it cooking.


Easy Air Fryer Recipes
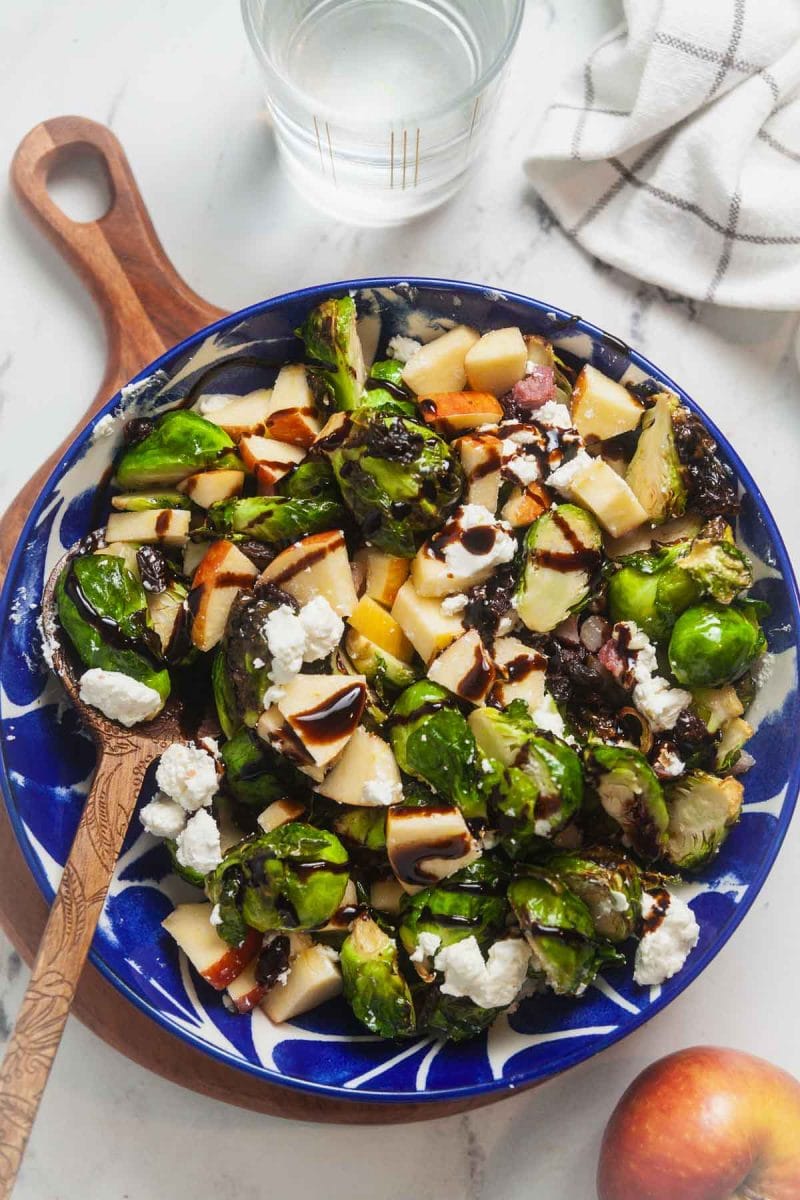
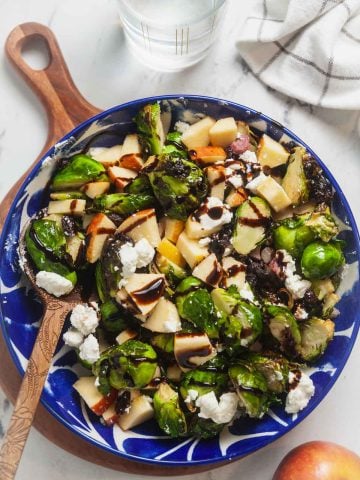
- Charred Brussels Sprouts SaladPerfect as a hearty side dish or a standalone meal, this is a fall salad recipe you won’t want to miss!
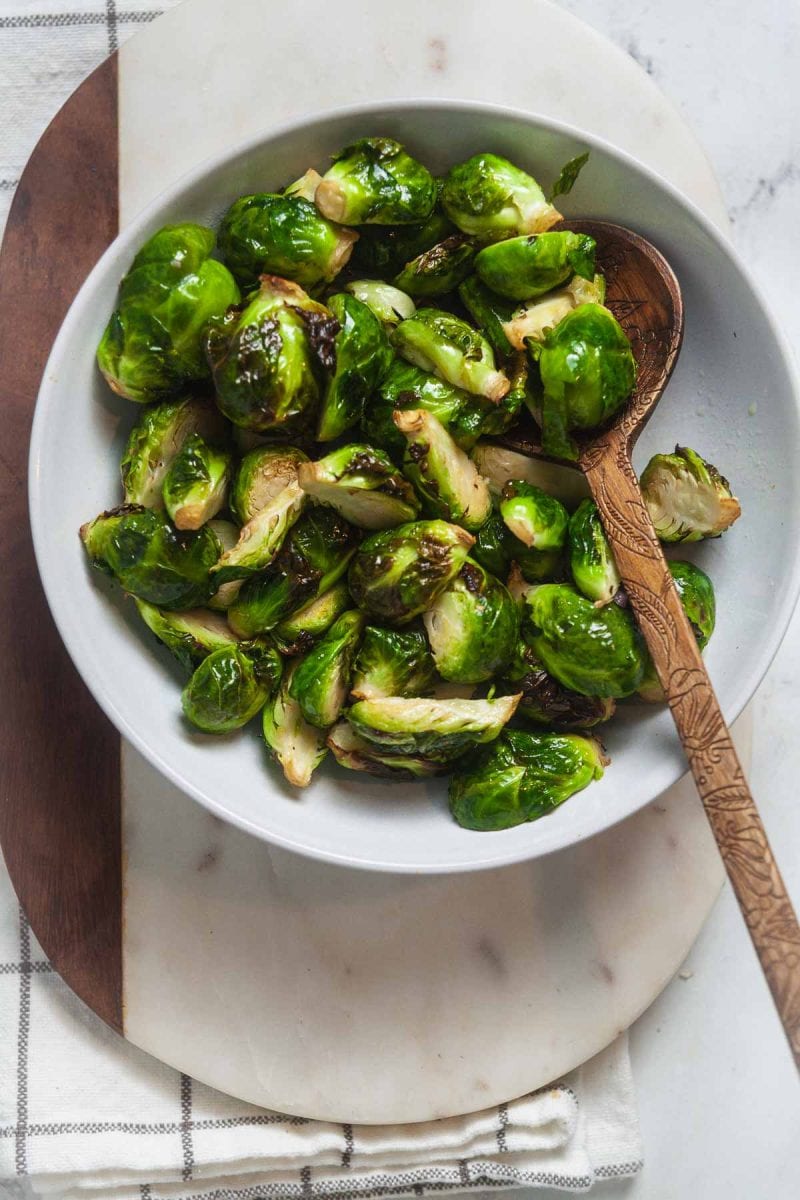
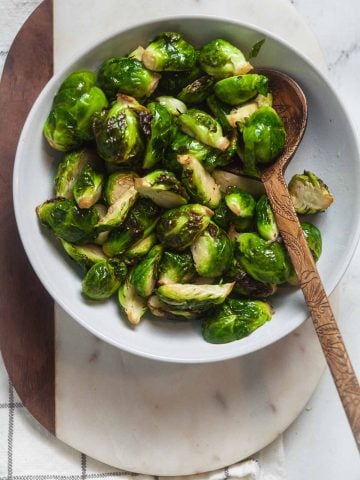
- Crispy Air Fryer Brussels SproutsCrispy Brussels sprouts are a family favorite, and they’re so easy to make in your air fryer!
- Air Fryer Tofu Katsu
 Picture biting into a golden, crispy tofu katsu that’s so flavorful you can’t believe it’s not deep-fried.
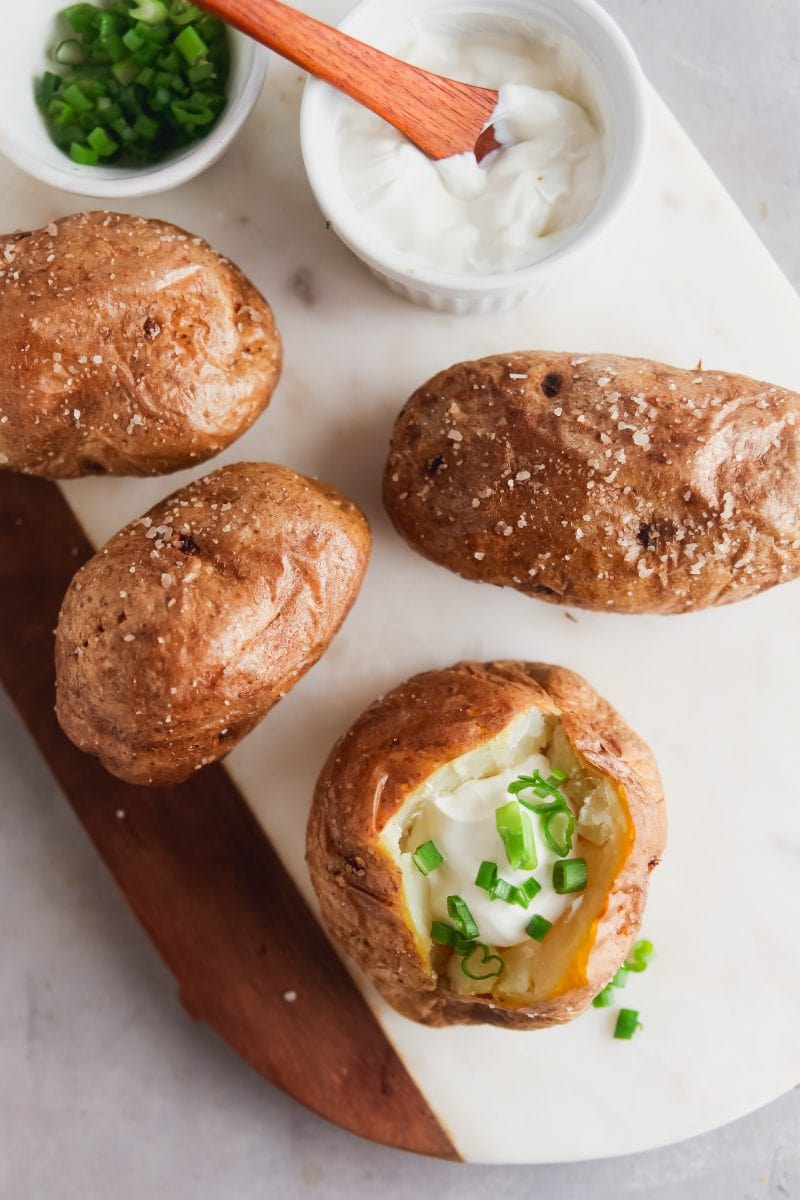
 - Air Fryer Baked PotatoesSteakhouse-style baked potatoes, straight from your air fryer! These air fryer baked potatoes are crispy on the outside, fluffy on the inside, and seasoned to perfection.

Whole 30 Recipes
- Easy Roasted Frozen Brussels SproutsFar removed from the mushy frozen vegetables we grew up with, roasted frozen Brussels sprouts go from freezer to plate in less than 30 minutes.
- Crispy Air Fryer Brussels SproutsCrispy Brussels sprouts are a family favorite, and they’re so easy to make in your air fryer!
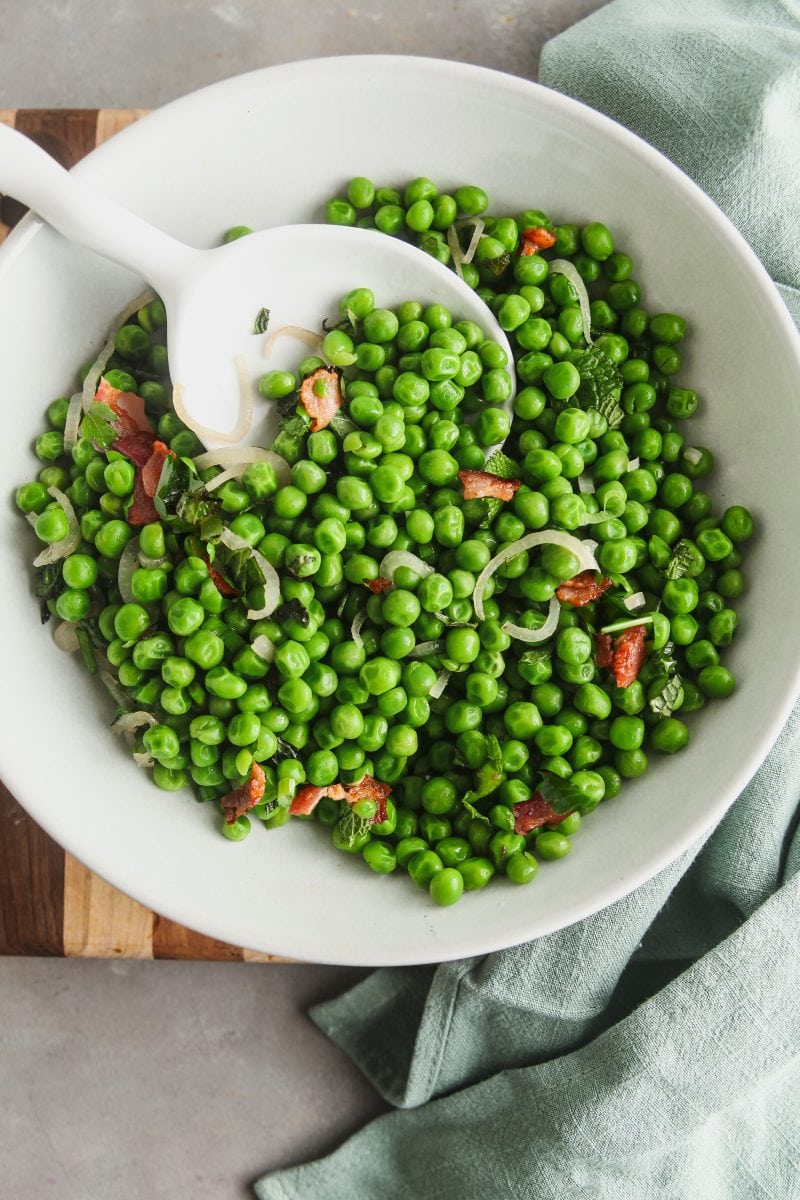
- Peas with Mint and BaconSautéed peas with mint is a classic recipe that’s a beautiful reminder of the power of simple, fresh ingredients.
- Air Fryer Baked PotatoesSteakhouse-style baked potatoes, straight from your air fryer! These air fryer baked potatoes are crispy on the outside, fluffy on the inside, and seasoned to perfection.
Gluten-Free Recipes
- Easy Roasted Frozen Brussels SproutsFar removed from the mushy frozen vegetables we grew up with, roasted frozen Brussels sprouts go from freezer to plate in less than 30 minutes.
- Mexican Street Corn ChowderCreamy street corn chowder, inspired by the flavors of Mexico, will turn any dinner table into a vibrant fiesta.
- Charred Brussels Sprouts SaladPerfect as a hearty side dish or a standalone meal, this is a fall salad recipe you won’t want to miss!
- Crispy Air Fryer Brussels SproutsCrispy Brussels sprouts are a family favorite, and they’re so easy to make in your air fryer!

Low Carb and Keto Recipes
- Easy Vietnamese Peanut Sauce Recipe with Coconut MilkMake your meals memorable with this 5-minute Peanut Sauce recipe.
- Easy Roasted Frozen Brussels SproutsFar removed from the mushy frozen vegetables we grew up with, roasted frozen Brussels sprouts go from freezer to plate in less than 30 minutes.
- Crispy Air Fryer Brussels SproutsCrispy Brussels sprouts are a family favorite, and they’re so easy to make in your air fryer!
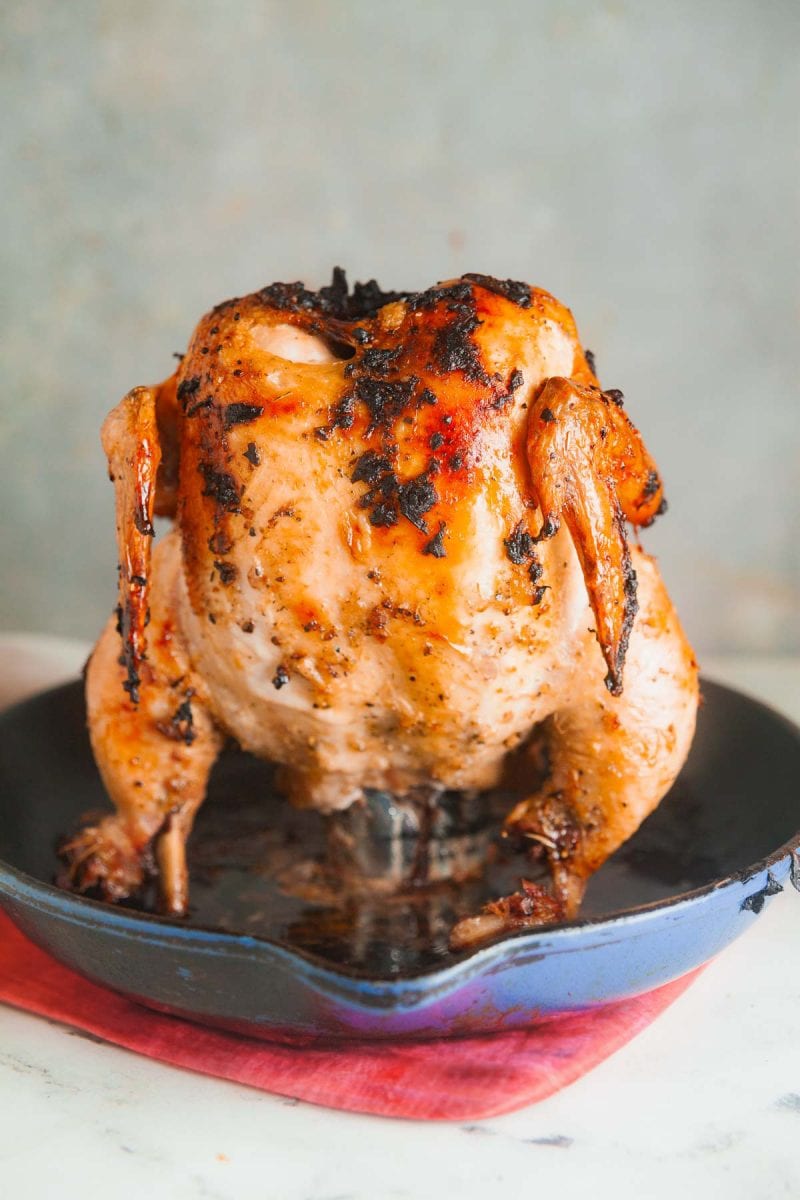
- Lemon and Wine Infused “Beer Can” ChickenThis delicious spin on beer can chicken is tender and juicy, with a burst of flavor in every bite. There’s a reason it’s taking the summer by storm!